
Getting Started
Install MacsyZones, grant accessibility permissions, and start organizing your windows.
Installation
How to Install
MacsyZones is free and open source. You can install it in two ways:
- Homebrew: Run
brew install --cask macsyzones - Direct download: Download the latest version from the MacsyZones website or GitHub.
Latest version: 3.0.4 (31 May 2026). You can also support development by purchasing a license for $7.
macOS may show a warning on first launch. Go to System Settings → Privacy & Security and allow MacsyZones.
Accessibility Permissions
Required Permissions
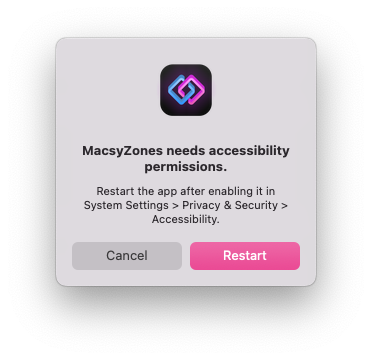
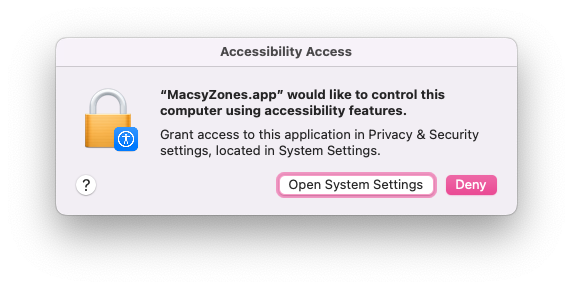
macOS requires accessibility permissions for window management. MacsyZones needs these permissions to snap windows to zones.
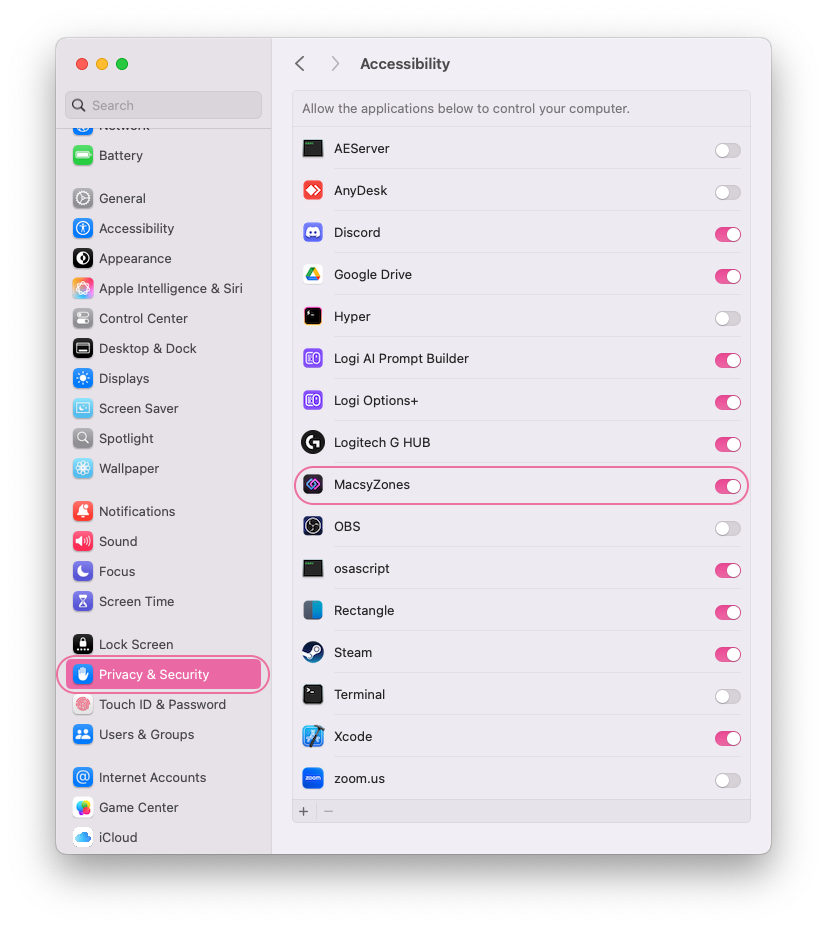
- 1. Open System Settings
- 2. Navigate to Privacy & Security → Accessibility
- 3. Find MacsyZones in the list and enable it
Without accessibility permissions, MacsyZones cannot manage windows. Make sure to grant this permission during first-time setup.
Permission Screenshots
If it keeps asking for permission, close MacsyZones, open Terminal and enter: sudo tccutil reset All MeowingCat.MacsyZones
First Launch
What to Expect
When you first launch MacsyZones, you will see:
- • A menu bar icon for quick access
- • A prompt requesting accessibility permissions (if not already granted)
- • Built-in zone layouts ready to use immediately
MacsyZones runs in the menu bar, accessible from anywhere on your Mac.
Also available: